
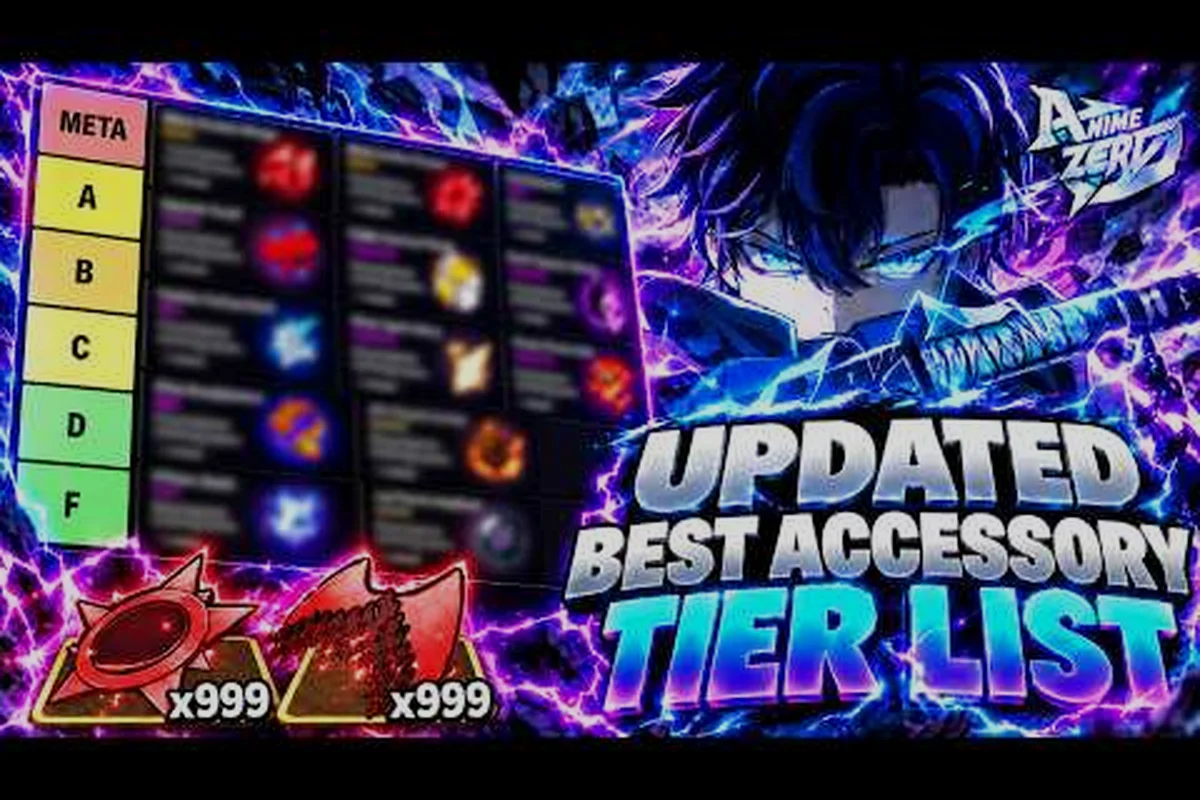
Accessories in Anime Zero are not cosmetic filler; they are the primary scaling vector that separates a functional endgame build from a stat-stick that collapses in Shadow Gate. Understanding how accessory stats interact with your weapon and trait choices determines whether you clear Nightmare Shadow Gate or burn resources on gear that never pays off. This article explains which accessory to use for each build style, what max stat targets look like, and how to assemble an endgame loadout without wasting rerolls.
according to Pro Game Guides community analysis, accessory rankings and drop sources are compiled from in-game testing and community data.
What Accessories Do in the Damage Equation
Accessories occupy dedicated equipment slots and provide stat bonuses that multiply with your trait and weapon enchant choices. The system is straightforward on the surface, but the hidden depth comes from how accessory bonuses stack with other scaling sources. A player running a crit-focused weapon with a flat damage accessory will underperform compared to someone who matches accessory multipliers to their damage type.
The core mechanic is stat synergy: each accessory rolls a primary stat and up to three secondary stats, and the value of those rolls depends entirely on what your weapon and traits already provide. Because diminishing returns apply to stacking the same stat type, the best accessory loadout is rarely the one with the highest single number. Community testing consistently shows that balanced stat distribution outperforms single-stat stacking in endgame content.
| Accessory Slot | Primary Stat Options | Secondary Stat Options | Endgame Priority |
|---|---|---|---|
| Necklace | Crit Rate, Damage % | Attack Speed, Penetration | High |
| Ring | Damage %, Elemental % | Crit Damage, Cooldown | High |
| Belt | HP %, Defense % | Damage Reduction, Regen | Medium |
| Charm | Utility, Cooldown | Movespeed, Lifesteal | Situational |
The Shadow Gate raid is the primary source of endgame accessories, and the drop pool includes the Shadow Monarch accessory set with a 3% drop chance per clear. A 32-clear guarantee system exists, which means persistence eventually pays off even if individual luck is poor. The Mochi Commander turret-phase boss also drops accessories, though the pool is smaller and less specialized.
Because accessory drops are random, most players build around what they can reliably farm rather than chasing a perfect theoretical loadout. The Anime Zero accessories tier list ranks every farmable accessory by damage contribution, which helps you decide whether a drop is worth keeping before you invest rerolls.
Endgame Accessory Stat Targets
Endgame accessory builds in Anime Zero revolve around hitting specific stat thresholds that enable consistent clears of the hardest content. The exact numbers shift with balance patches, but the community has settled on reliable targets based on thousands of reported clears. These targets assume you have a fully enchanted weapon and a coherent trait setup.
The most important threshold is crit rate: most endgame weapons have crit damage multipliers baked into their kits, which means crit rate accessories deliver outsized value. A weapon with a 2.5x crit multiplier gains more from 10% crit rate than from 15% flat damage, because the crit chance converts directly into multiplier uptime. This is why the Crit Rate Necklace is the single most contested accessory slot in the game.
| Stat | Soft Cap | Hard Cap | Priority for DPS | Priority for Tank |
|---|---|---|---|---|
| Crit Rate | 60% | 80% | Critical | Low |
| Crit Damage | 200% | 300% | High | Low |
| Damage % | 150% | 250% | High | Medium |
| Attack Speed | 40% | 60% | Medium | Low |
| HP % | 200% | 350% | Low | Critical |
| Damage Reduction | 30% | 50% | Low | High |
Attack speed is a trap stat for most builds because weapon animations cap out around 40% bonus speed, and anything beyond that wastes the roll. Penetration is undervalued by newer players but becomes essential against Nightmare Shadow Gate bosses, which have significantly higher defense values than story content. A penetration roll of 15-20% on a ring often outperforms an equivalent damage % roll against endgame targets.
The Anime Zero accessory guide breaks down every accessory slot and how to farm each one efficiently, which is useful when you are targeting specific stat combinations rather than accepting whatever drops first.
Which Accessory to Use for Each Build Style
Your accessory loadout should follow your weapon and trait choices, not the other way around. A crit build needs different accessories than a sustain tank or a cooldown caster, and mixing priorities produces a build that fails at everything. The table below maps the three dominant endgame build styles to their optimal accessory loadouts.
Crit DPS Loadout
Crit DPS builds stack crit rate and crit damage on every slot that can roll them, then fill remaining slots with damage % and penetration. The goal is to reach 60% crit rate and 200% crit damage before buffs, which requires at least two accessories with double crit rolls. This is the highest-damage build in the game but also the most gear-dependent.
| Slot | Ideal Primary | Ideal Secondary | Farm Source |
|---|---|---|---|
| Necklace | Crit Rate 15%+ | Crit Damage 20%+ | Shadow Gate |
| Ring 1 | Damage % 20%+ | Crit Rate 10%+ | Shadow Gate |
| Ring 2 | Crit Damage 30%+ | Penetration 15%+ | Mochi Commander |
| Charm | Attack Speed 10%+ | Crit Rate 5%+ | Story Bosses |
Sustain Tank Loadout
Tank builds prioritize HP % and damage reduction to survive the Mochi Commander turret phase, which punishes squishy builds with unavoidable chip damage. The accessory loadout trades damage for survivability, but the trade is worth it in group content where a dead DPS deals zero damage. Tanks still want some damage % to hold aggro, but survivability comes first.
| Slot | Ideal Primary | Ideal Secondary | Farm Source |
|---|---|---|---|
| Necklace | HP % 25%+ | Damage Reduction 10%+ | Shadow Gate |
| Ring 1 | Defense % 20%+ | HP % 10%+ | Story Bosses |
| Ring 2 | Damage Reduction 15%+ | Regen 5%+ | Mochi Commander |
| Charm | Lifesteal 8%+ | HP % 10%+ | Shadow Gate |
Cooldown Caster Loadout
Cooldown casters focus on cooldown reduction and utility stats that let them cycle abilities faster. This build style is less common in solo play but shines in group content where ability uptime matters more than raw auto-attack damage. The accessory pool for this style is smaller, which makes it easier to farm but harder to optimize.
The Cooldown Charm is the cornerstone of this build, and pairing it with a cooldown-reduction ring creates a 30-40% total cooldown reduction window. Because most endgame abilities have 20-30 second cooldowns, this translates to 6-12 seconds of extra uptime per rotation, which compounds over a full boss fight.
Assembling a Full Accessory Loadout
Assembling an endgame loadout requires a farming strategy, not just luck. The Shadow Gate raid is the primary source of top-tier accessories, but the 3% drop rate on the Shadow Monarch set means you should expect dozens of clears before seeing a complete set. The 32-clear guarantee provides a safety net, but smart players farm multiple sources in parallel.
The most efficient farming loop is to clear Shadow Gate for necklace and ring drops, then run Mochi Commander for charm and belt options, and finally use story bosses to fill gaps with mid-tier accessories that have good secondary rolls. This spreads your time across multiple drop pools and increases the chance of finding a usable accessory every session.
| Farming Step | Target | Expected Time | Notes |
|---|---|---|---|
| 1. Shadow Gate Normal | Necklace, Ring 1 | 15-20 min per clear | Guarantee at 32 clears |
| 2. Mochi Commander | Ring 2, Charm | 10-15 min per clear | Turret phase drops |
| 3. Story Boss Rotation | Belt, Filler | 5-10 min per boss | Good secondary rolls |
| 4. Nightmare Shadow Gate | Shadow Monarch set | 25-35 min per clear | 3% drop, endgame only |
Reroll strategy matters as much as farming: never reroll an accessory with two good stats chasing a perfect third, because the odds of improvement are low and the cost is high. Community data suggests that only accessories with one good stat and two dead stats are worth rerolling, and even then only when you have a surplus of reroll materials.
The trait system explained article covers how trait choices interact with accessory stats, because a crit accessory loadout paired with a non-crit trait setup wastes most of its potential. Matching traits to accessories is the difference between a 40% damage increase and a 15% one.
Accessory Max Stats and Diminishing Returns
Understanding max stat ceilings prevents wasted rerolls and helps you recognize when an accessory is actually good. Each accessory slot has a maximum roll for every stat type, and the difference between a 90th-percentile roll and a perfect roll is often smaller than players assume. Chasing perfection is rarely worth the resource cost.
The most important concept is diminishing returns: stacking the same stat beyond its soft cap delivers progressively less value per point. A player with 50% crit rate gains more from 10% additional crit rate than a player with 70% crit rate, because the marginal value of each point decreases as you approach the cap. This is why balanced loadouts outperform single-stat stacking in practice.
| Stat | Max Roll (Single Accessory) | Soft Cap | Diminishing Returns Start |
|---|---|---|---|
| Crit Rate | 20% | 60% | 50% |
| Crit Damage | 40% | 200% | 180% |
| Damage % | 30% | 150% | 130% |
| Attack Speed | 15% | 40% | 30% |
| HP % | 35% | 200% | 180% |
| Damage Reduction | 20% | 30% | 25% |
Penetration is the exception to the diminishing returns rule: because it scales against enemy defense rather than your own stats, its value actually increases as enemy defense rises. Against Nightmare Shadow Gate bosses, penetration rolls are worth roughly 1.5x their face value compared to damage % rolls. This makes penetration one of the most efficient stats in the endgame despite its low profile in early content.
The weapon enchants guide explains how enchant choices multiply accessory stats, because a weapon with a crit damage enchant changes the math on every accessory decision. Accessory and enchant synergy is the final layer of endgame optimization that most players overlook.
Frequently Asked Questions
What is the best accessory to use for a new player?
The Damage % Ring is the best starter accessory because it provides immediate value without requiring crit rate or penetration support. Farm it from story bosses while you build toward a crit setup. It remains useful as a filler slot even in endgame loadouts.
How do I get the Shadow Monarch accessory set?
The Shadow Monarch set drops from Nightmare Shadow Gate with a 3% drop chance per clear. A 32-clear guarantee ensures you eventually receive the set even with bad luck. Expect 25-35 minutes per clear, and bring a coordinated group for the Mochi Commander turret phase.
Should I stack crit rate or damage % on accessories?
Stack crit rate first until you reach 50-60%, then pivot to crit damage and damage %. Crit rate has the highest marginal value below its soft cap because most endgame weapons carry crit damage multipliers. Beyond 60%, additional crit rate suffers diminishing returns.
Is attack speed worth rolling on accessories?
Attack speed is only worth rolling if your weapon benefits from faster animation cycles and you stay below the 40% soft cap. Most builds cap out around 30-40% bonus speed, and rolls beyond that waste the stat slot. It is a lower priority than crit or damage stats for most loadouts.
Can I use the same accessory loadout for solo and group content?
Solo players should lean toward balanced damage and survivability, while group content allows more specialized builds. A crit DPS loadout works in groups where a tank holds aggro, but solo players often need a sustain tank or hybrid setup to survive boss mechanics without support.