
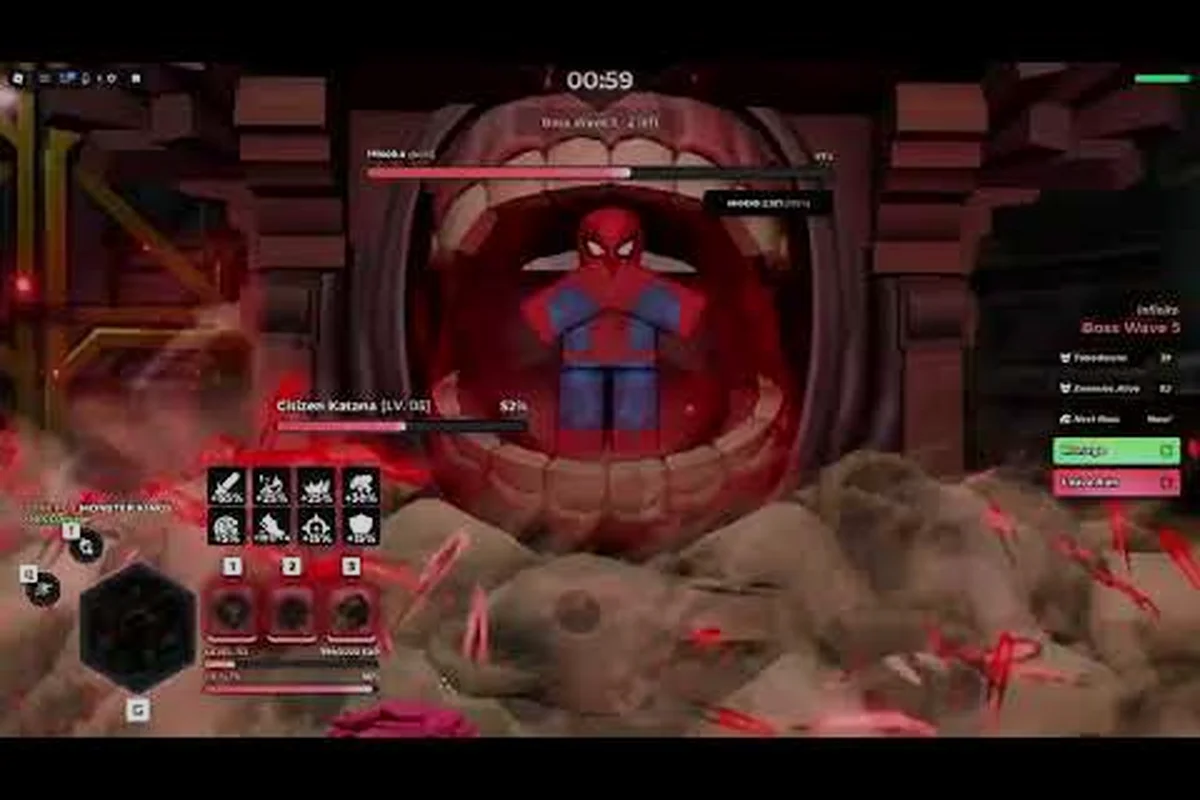
Night mode transforms standard Anime Zero dungeons into high-risk, high-reward gauntlets where the loot pool shifts toward exclusive cosmetics, rare crafting materials, and a dedicated currency called dungeon tokens. Understanding how the anime zero dungeon night mode rotation works matters because it is the only reliable path to several endgame upgrades that cannot be earned through raids or story progression. Players who ignore this system leave a significant portion of their weekly power budget on the table.
How Anime Zero Dungeon Night Mode Activates
The night mode cycle is not always available, which means timing your runs around the active window is the first skill to master. When night mode is live, the dungeon entrance visually changes, ambient lighting dims, and the standard enemy roster is replaced with Nightmare variants that hit harder and move faster. According to community data collected across multiple rotations, the activation window typically lasts between 20 and 40 minutes, though exact duration varies by server region and patch version.
Recognizing the Night Mode Window
Players can identify an active night mode through three consistent signals. The dungeon portal on the world map gains a dark purple aura instead of the standard blue glow. The in-game clock shifts to a moon icon in the top-right corner of the dungeon UI. Finally, the dungeon select screen displays a Nightmare modifier tag next to the dungeon name, which confirms that the enhanced loot table is currently active.
The following table summarizes the visual and mechanical differences between standard and night mode dungeons, including portal appearance, enemy scaling, loot table changes, and the guaranteed token drop that makes the mode worth the extra risk. Night mode also tightens the clear time limit by roughly 25 percent, so the table doubles as a quick reference for what changes before each run.
| Feature | Standard Dungeon | Night Mode Dungeon |
|---|---|---|
| Portal Aura | Blue glow | Dark purple glow |
| Enemy Type | Standard mobs | Nightmare variants |
| Damage Scaling | Base values | 1.4x to 1.8x multiplier |
| Loot Table | Common and rare drops | Adds exclusive night drops |
| Token Drop Rate | Low or none | Guaranteed per clear |
| Time Limit | Generous | Tightened by 25% |
The damage scaling is the most punishing change. Community testing suggests that Nightmare enemies deal between 40% and 80% more damage than their standard counterparts, which forces players to bring defensive utility rather than pure damage builds. A character that comfortably clears a standard dungeon in under three minutes may struggle to survive the opening pull in night mode without proper cooldown management.
Nightmare Dungeon Modifiers
The anime zero nightmare dungeon experience adds rotating modifiers that change how each run plays out. These modifiers are not cosmetic; they directly alter enemy behavior, player resources, and clear conditions. Some rotations feature Life Drain, where enemies heal for a percentage of damage dealt, while others introduce Accelerated Enrage, which causes bosses to enter their enrage phase 30 seconds earlier than normal.
| Modifier Name | Effect | Recommended Counter |
|---|---|---|
| Life Drain | Enemies heal 15% of damage dealt | Burst damage windows |
| Accelerated Enrage | Boss enrage triggers 30s early | High single-target DPS |
| Shadow Step | Enemies teleport behind players | AoE denial skills |
| Curse of Weakness | Player damage reduced by 20% | Attack buff consumables |
| Blood Moon | All enemies gain 25% attack speed | Crowd control priority |
These modifiers rotate on a fixed schedule that players have partially mapped through observation. While the developer has not published an official modifier calendar, community trackers have identified a repeating pattern of roughly eight modifier sets that cycle in a predictable order. Checking the current modifier before entering saves resources, because bringing the wrong loadout into a Life Drain rotation often results in a failed run and wasted entry materials.
Farming Anime Zero Dungeon Tokens Efficiently
Anime zero dungeon tokens are the primary reward for completing night mode runs, and they function as a separate currency from raid tokens or standard gold. Tokens drop from every boss kill in night mode, with bonus tokens awarded for completing optional objectives such as defeating all elite packs or finishing within the par time. The base token yield per clear ranges from 15 to 30 tokens depending on dungeon tier, with higher-tier dungeons offering substantially better returns.
Token Yield Breakdown by Dungeon Tier
Understanding the token economy requires knowing which dungeons offer the best time-to-token ratio. Lower-tier dungeons are faster but yield fewer tokens per clear, while higher-tier dungeons demand more time and better gear but reward significantly more tokens. The table below reflects community-reported averages across multiple night mode rotations:
| Dungeon Tier | Average Clear Time | Base Tokens | Bonus Potential | Tokens per Hour |
|---|---|---|---|---|
| Tier 1 | 4-6 minutes | 15-18 | +5 for par time | 180-230 |
| Tier 2 | 7-10 minutes | 20-24 | +8 for full clear | 170-190 |
| Tier 3 | 12-15 minutes | 26-30 | +12 for no deaths | 150-170 |
| Tier 4 | 18-22 minutes | 32-38 | +15 for speed bonus | 140-160 |
The tokens per hour column reveals a counterintuitive truth: Tier 1 night mode dungeons often outperform higher tiers for raw token farming when clear speed is optimized. This is because the token bonus for par time is easier to achieve on lower tiers, and the shorter clear time allows more runs per hour. However, higher-tier dungeons drop exclusive crafting materials that cannot be obtained elsewhere, so pure token efficiency is not the only consideration.
Optimizing Token Runs
Speed is the dominant factor in token farming efficiency. Players who can consistently hit par time bonuses on Tier 1 or Tier 2 dungeons will out-earn players who slowly grind through Tier 4 content. The key is to build a loadout that clears trash packs quickly while maintaining enough burst damage to finish bosses before enrage timers expire. According to community testing, mobility skills and AoE burst abilities are the highest-value tools for token farming, because they reduce the time spent between objective points.
A practical token farming loop that balances clear speed with bonus objectives looks like this, based on community routes tested across recent rotations. The loop assumes you can clear your target tier in under eight minutes, because par time bonuses are what make Tier 1 and Tier 2 farming superior on a tokens-per-hour basis:
-
Enter the highest tier dungeon you can clear in under 8 minutes
-
Skip optional elite packs unless the bonus token reward justifies the detour
-
Prioritize par time bonuses over full clear bonuses when they conflict
-
Bank tokens immediately after each run to avoid losing them to a disconnect
-
Track your tokens per hour across three runs to identify your optimal tier
The final point matters because token yields vary by server population and modifier rotation. A strategy that works during a Blood Moon rotation may fall apart during Curse of Weakness, so players should re-evaluate their farming tier each time the modifier set changes.
What to Buy from the Anime Zero Dungeon Shop
The anime zero dungeon shop is where tokens are spent, and the inventory rotates on a weekly basis. Some items are permanent additions that never leave the shop, while others appear only during specific rotations or seasonal events. Knowing which purchases provide lasting value versus which are cosmetic traps is essential for efficient token spending.
Permanent Shop Inventory
The permanent inventory includes items that players can purchase at any time, assuming they have enough tokens saved. These items tend to be progression-focused, offering stat boosts, crafting recipes, or quality-of-life upgrades that remain useful across all content. The table below lists the core permanent items and their typical token costs:
| Shop Item | Token Cost | Value Assessment |
|---|---|---|
| Nightmare Weapon Blueprint | 250 tokens | High — enables exclusive weapon crafting |
| Dungeon Armor Set Piece | 180 tokens per piece | High — set bonuses scale into endgame |
| Token Booster (1 hour) | 75 tokens | Medium — pays off only during long sessions |
| Cosmetic Night Aura | 120 tokens | Low — pure visual, no stat impact |
| Crafting Material Bundle | 90 tokens | Medium — useful for specific recipes |
The Nightmare Weapon Blueprint is widely considered the best first purchase because it unlocks a crafting path that feeds into the broader weapon progression system. Players who invest in this blueprint early can craft weapons that remain competitive through multiple content updates, whereas cosmetic purchases provide no mechanical advantage and should be deferred until progression needs are met.
Rotating and Limited Stock
The rotating inventory changes weekly and sometimes includes items that never return after their window closes. Community trackers have documented several limited items that appeared only once during a specific event period, making them effectively unobtainable for players who missed the window. While most rotating items are cosmetic, a few have provided unique stat bonuses that later became meta-relevant.
Because the shop inventory is not officially published in advance, players rely on community reports to identify high-value rotating items before they disappear. The safest approach is to maintain a token reserve of at least 150 tokens so that a valuable rotating item can be purchased immediately when it appears, rather than scrambling to farm tokens during a short window.
Navigating Anime Zero Dungeon Portals and Secret Entrances
Anime zero dungeon portals serve as the entry points for night mode content, but not all portals are visible on the standard map. Some portals only appear during night mode, while others are hidden behind environmental puzzles or require specific items to activate. Understanding portal mechanics is critical because missing a hidden portal means missing access to the anime zero secret dungeon content that offers the best token-to-time ratio in the game.
Portal Types and Activation Requirements
There are three distinct portal types that players encounter in the dungeon system. Standard portals are always visible and require no special conditions to enter. Night portals appear only during active night mode windows and are marked by the purple aura described earlier. Secret portals are the rarest type, requiring specific trigger conditions that vary by dungeon and are often discovered through community collaboration.
| Portal Type | Visibility | Activation Requirement | Typical Reward |
|---|---|---|---|
| Standard Portal | Always visible | None | Standard loot table |
| Night Portal | Night mode only | Active night mode window | Night mode loot and tokens |
| Secret Portal | Hidden | Environmental trigger or item | Exclusive loot and bonus tokens |
| Collapsed Portal | Visible but inactive | Repair with dungeon materials | One-time bonus chest |
Secret portals are the most valuable because they lead to the anime zero secret dungeon, a special instance that offers guaranteed token drops and a chance at exclusive cosmetics that do not appear in the standard night mode loot table. Community reports indicate that secret dungeon clears award roughly double the tokens of a standard night mode clear at the same tier, making them the highest-priority target for token farmers.
Finding Secret Dungeon Entrances
Secret dungeon entrances are not marked on the map and require specific actions to reveal. Some entrances appear after defeating a certain number of elite enemies within a single night mode run, while others require interacting with environmental objects in a specific order. The community has mapped several consistent trigger conditions, though the developer has not officially confirmed the full list.
The most reliable method for finding secret portals is to clear every elite pack in a night mode dungeon, because several secret entrances are tied to elite kill counts. Players who rush past elite packs to save time may inadvertently skip the trigger condition for a secret portal, missing out on the highest-value token source in the game. The hidden zones guide covers additional dungeon exploration mechanics that complement secret portal hunting.
Night Mode Build and Strategy Recommendations
Succeeding in night mode requires a different approach than standard dungeon farming. The increased enemy damage and tightened time limits punish slow, defensive playstyles, while the token bonuses reward aggressive, efficient clears. Players who adapt their builds and strategies to night mode conditions will see significantly better returns than those who treat night mode as a standard dungeon with higher numbers.
Recommended Build Priorities
The ideal night mode build balances three priorities: burst damage to kill bosses before enrage, mobility to reduce travel time between objectives, and sustain to survive the increased incoming damage. Pure glass cannon builds often fail because they cannot survive the opening pull, while pure tank builds fail because they cannot clear fast enough to hit par time bonuses.
| Build Priority | Why It Matters | Example Skills |
|---|---|---|
| Burst Damage | Kills bosses before enrage timers | High-scaling single-target abilities |
| Mobility | Reduces time between objective points | Dash, teleport, movement speed buffs |
| Sustain | Survives Nightmare damage scaling | Life steal, shields, damage reduction |
| Crowd Control | Locks down Blood Moon attack speed buffs | Stun, freeze, knockback |
The weapon build guide provides detailed loadout recommendations that translate well to night mode content, though players should prioritize the three attributes above (burst damage, mobility, and sustain) over raw damage numbers when selecting gear for night mode specifically. Night mode enemies hit harder and close distance faster, so survivability and movement often contribute more to a successful clear than a marginal DPS increase, especially on floors where elite modifiers are active.
Solo vs. Group Night Mode Runs
Night mode dungeons can be completed solo or in groups, and each approach has distinct advantages. Solo runs offer complete control over pacing and eliminate the coordination overhead that can slow down group clears. Group runs benefit from shared damage output and the ability to split objectives, which can dramatically reduce clear times on larger dungeon layouts.
Community data suggests that solo Tier 1 and Tier 2 night mode runs are the most efficient token farming method for players with optimized builds, while group runs become more valuable at Tier 3 and Tier 4 where the increased enemy density benefits from multiple damage dealers. Players who are still building their character should consider the raid party guide for team composition principles that apply to coordinated dungeon clears as well.
Frequently Asked Questions
How often does anime zero dungeon night mode activate?
Night mode activates on a rotating schedule that typically cycles every 60 to 90 minutes, with each active window lasting between 20 and 40 minutes. The exact timing varies by server region and patch version, so players should check the dungeon select screen regularly for the purple portal aura that signals an active window.
What is the fastest way to farm anime zero dungeon tokens?
The fastest method is to run Tier 1 or Tier 2 night mode dungeons solo with a mobility-focused build, hitting par time bonuses consistently. This approach yields 180 to 230 tokens per hour, which outperforms slower Tier 3 and Tier 4 clears despite the lower base token reward per run.
Can I access the anime zero secret dungeon without night mode?
No, secret dungeon portals only appear during active night mode windows. Some secret entrances also require specific trigger conditions such as defeating all elite packs or interacting with environmental objects in a particular order, so players should explore thoroughly during every night mode window.
What should I buy first from the anime zero dungeon shop?
The Nightmare Weapon Blueprint is the best first purchase because it unlocks exclusive weapon crafting that remains relevant through multiple content updates. Cosmetic items like the Night Aura should be deferred until progression needs are met, since they provide no mechanical advantage.
Do nightmare dungeon modifiers change my token rewards?
Modifiers do not directly change token yields, but they affect clear speed and success rate. Harder modifiers like Curse of Weakness can reduce your tokens per hour by slowing clears, while easier modifiers allow faster farming. Players should adjust their farming tier based on the current modifier rotation.