
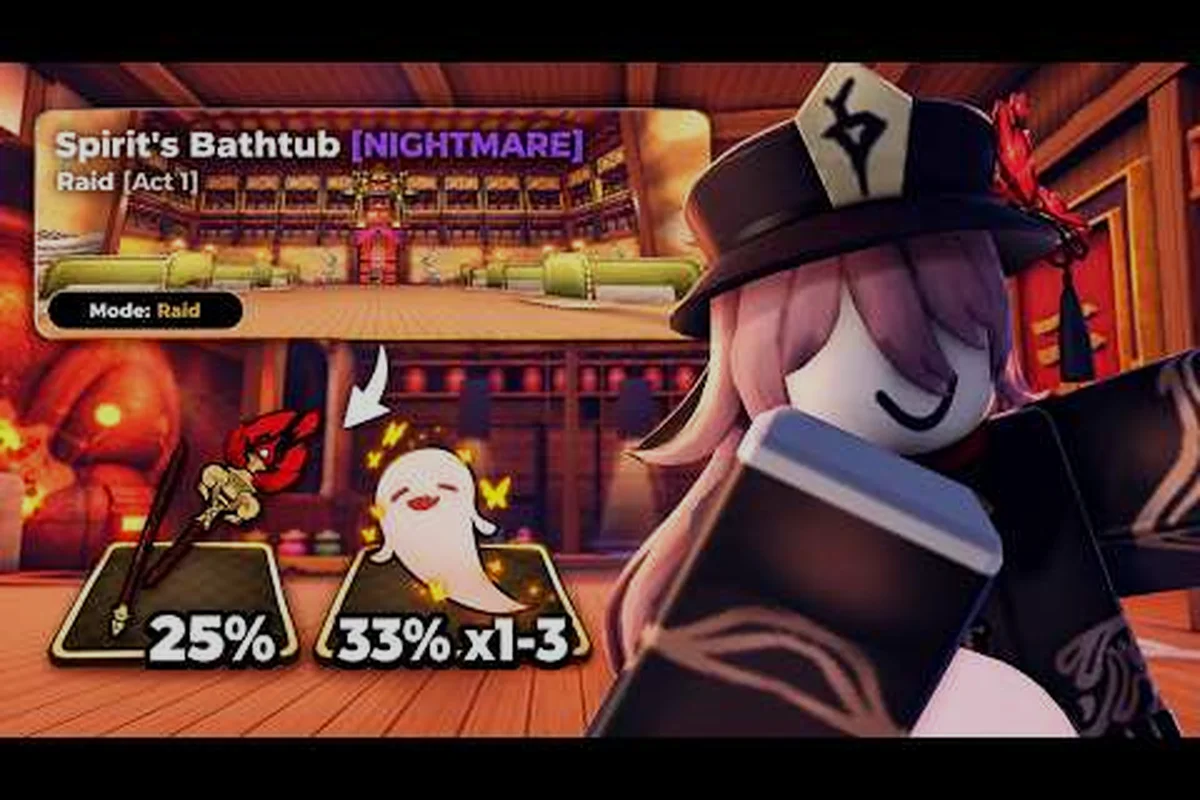
Raids in Anime Zero are where progression accelerates from a slow grind into a rapid power spike, and understanding the Shadow Gate rotation is the single highest-leverage skill you can develop. The anime zero raid guide approach matters because speed clears directly multiply your raid token income, which feeds the raid shop and unlocks endgame accessories that define late-game builds. Players who treat raids as optional side content stall around mid-game, while those who optimize clear times compound their rewards every hour.
Understanding the Shadow Gate Raid Loop
The anime zero shadow gate encounter is the core repeatable activity that most mid-game players farm for consistent progression. Unlike open-world bosses that require spawn camping or server hopping, the anime zero shadow gate raid runs on a structured rotation that lets you plan sessions around guaranteed attempts. Community testing from the current update cycle shows that a well-coordinated group can complete a standard clear in roughly three to five minutes, while solo players typically need seven to ten minutes depending on their damage output and accessory loadout.
Shadow Gate Entry Requirements and Scaling
Before you queue for the anime zero shadow gate raid, you need to understand how difficulty scaling affects your clear time and reward quality. The raid scales enemy health and damage based on party size, which means a solo run is not simply a slower version of a group run — it is a fundamentally different damage-check experience. Players report that the Shadow Gate boss gains additional mechanics at higher player counts, including split-phase adds that force the party to divide attention between the main target and shadow spawns.
| Raid Mode | Recommended Level | Average Clear Time | Raid Token Reward | Key Mechanic |
|---|---|---|---|---|
| Standard Shadow Gate | 60+ | 4-6 minutes | 15-20 tokens | Single boss phase |
| Nightmare Shadow Gate | 80+ | 7-12 minutes | 35-50 tokens | Adds + enrage timer |
| Speed Raid (Optimized) | 90+ | 2-3 minutes | 15-20 tokens | Skip phases via burst |
The table above reflects community-reported averages as of the current patch, though individual results vary based on weapon tier and accessory synergy. The speed raid variant is not a separate queue but rather an optimized approach to the standard encounter, where players stack burst damage to skip mechanics entirely. Understanding this distinction matters because the anime zero raid tokens economy rewards efficient repetition over slow, methodical clears.
Shadow Gate Boss Mechanics Breakdown
The Shadow Gate boss rotates through three distinct phases, and recognizing the transition cues is what separates average clears from speed raid times. Phase one is a straightforward damage check with telegraphed cone attacks that are easy to dodge once you learn the wind-up animation. Phase two introduces shadow clones that mirror the boss's basic attacks, and phase three activates an enrage timer that punishes low-damage groups with escalating area damage.
Players who struggle with the anime zero shadow gate encounter usually fail in phase two because they split damage across clones instead of focusing the main body. The clones despawn when the primary boss drops below 40% health, so the optimal strategy is to ignore clones entirely and burn the main target. This is where the raid party guide becomes valuable, since coordinated burst windows require clear role assignment between damage dealers and support players.
Nightmare Shadow Gate: The Endgame Speed Clear
The anime zero nightmare shadow gate is the advanced version of the encounter that unlocks after you reach level 80 and complete the standard raid at least once. This variant is not just a stat increase — it introduces new mechanics that punish uncoordinated groups and reward players who understand raid rotation timing. The nightmare shadow gate drops significantly more raid tokens per clear, but the failure rate for unprepared parties is high enough that many players waste more time on failed attempts than they would on successful standard runs.
Nightmare-Specific Mechanics and Counterplay
The anime zero nightmare shadow gate adds two mechanics that do not exist in the standard version: a shadow tether that links two random players and forces them to stay within a certain range, and a void burst that requires the entire party to stack in a marked safe zone. Both mechanics are designed to break up static damage rotations and force movement, which naturally lowers damage output for groups that have not practiced positioning.
| Nightmare Mechanic | Failure Consequence | Counterplay | Impact on Speed Clear |
|---|---|---|---|
| Shadow Tether | Massive damage to both linked players | Stay within 15 studs of partner | Forces duo movement, slows rotation |
| Void Burst | Instant down if outside safe zone | Pre-position near center | Minimal if party stacks early |
| Enrage at 25% | Wipes party in 20 seconds | Save burst cooldowns for final phase | Critical for speed raid success |
The enrage at 25% mechanic is the real gatekeeper for anime zero speed raid attempts on nightmare difficulty. If your party cannot burn the final quarter of the boss's health bar within twenty seconds, the run fails regardless of how cleanly you executed the earlier phases. This is why experienced groups save their highest-damage abilities and ultimate skills for the sub-25% window rather than using them on cooldown throughout the fight.
Nightmare Reward Structure and Token Efficiency
The anime zero raid tokens earned from nightmare clears are roughly double the standard reward, but the time investment is also higher unless your group is optimized. Community data suggests that a nightmare clear under eight minutes is the break-even point for token efficiency compared to standard clears. If your nightmare runs consistently exceed eight minutes, you are better off farming standard shadow gate clears until your damage improves.
The accessories tier list highlights which raid accessories provide the largest damage-per-token value, and investing in those pieces before attempting nightmare speed clears is the most reliable progression path. A common mistake is buying cosmetic or defensive accessories first, which does nothing to improve clear times and therefore stalls your token income.
Speed Raid Optimization: Cutting Clear Times
The anime zero speed raid mindset is fundamentally different from standard progression play because it prioritizes damage-per-second over survivability and consistency. A speed clear is not about playing perfectly — it is about dealing enough damage to skip mechanics entirely, which requires specific build choices and a willingness to sacrifice defensive stats for offensive ones. Players who successfully transition to speed clears report cutting their average clear time by 50% or more.
Damage Thresholds and Phase Skipping
Every raid boss in Anime Zero has phase transition thresholds based on health percentage, and dealing enough burst damage within a short window can skip entire mechanics. For the anime zero shadow gate raid, the key threshold is 70% health — if you can push the boss below 70% before it completes its first mechanic rotation, the clone phase is skipped entirely. This is the single biggest time save available in the encounter.
| Speed Clear Goal | Required DPS | Build Focus | Time Saved |
|---|---|---|---|
| Skip clone phase | 8,000+ sustained | Crit rate + crit damage | 60-90 seconds |
| Skip first void burst | 12,000+ burst | Ultimate timing | 30-45 seconds |
| Burn enrage phase | 15,000+ burst | Coordinated cooldowns | Prevents wipe |
These damage numbers are community-reported benchmarks from the current patch and may shift with balance updates, but the relative relationship between thresholds remains consistent. The PVE tier list ranks weapons and abilities by their raid damage output, which is the most direct reference for building a speed clear loadout.
Cooldown Rotation and Ultimate Timing
Speed clears live and die by cooldown rotation, which means using your highest-damage abilities in a specific order rather than reactively. The optimal rotation for most builds is to open with your ultimate skill during the first ten seconds of the fight, then cycle through your standard damage abilities while the boss is still in its initial animation lock. This front-loads damage and pushes the boss toward the 70% skip threshold before the first mechanic even resolves.
Players who hold their ultimates for the enrage phase are making a mistake on standard clears, because skipping the clone phase saves more time than having burst available at the end. The exception is nightmare mode, where the sub-25% enrage timer requires saved burst — but even there, experienced groups coordinate so that one player uses their ultimate early while others save theirs for the final burn window.
Raid Tokens and the Raid Shop Economy
The anime zero raid tokens you earn from clears are the currency that feeds the anime zero raid shop, and understanding what to buy first is the difference between efficient progression and wasted farming hours. The shop rotates its inventory on a weekly basis, but certain items appear consistently and should be prioritized over others. Community consensus is that damage accessories and weapon upgrade materials provide the best return on token investment.
Raid Shop Priority List
The anime zero raid shop contains a mix of permanent and rotating items, and the permanent items are generally the best value because they do not disappear. The rotating stock often includes limited-time accessories that are powerful but expensive, and buying them requires saving tokens across multiple farming sessions. The table below ranks shop purchases by their impact on clear speed and overall progression.
| Shop Item | Token Cost | Priority | Why It Matters |
|---|---|---|---|
| Shadow Monarch Accessory | 150 tokens | Highest | Best damage accessory for raid builds |
| Weapon Awakening Stone | 80 tokens | High | Direct damage increase for main weapon |
| Crit Damage Reroll | 50 tokens | Medium | Optimizes existing accessory stats |
| Cosmetic Aura | 200 tokens | Low | No combat benefit, skip early |
| Raid Consumable Pack | 30 tokens | Situational | Useful for nightmare progression |
The Shadow Monarch Accessory is the standout purchase because it provides a percentage-based damage increase that scales with your other stats, making it valuable at every progression stage. Players who rush this accessory report noticeably faster clear times on both standard and nightmare shadow gate runs, which compounds their token income and accelerates all subsequent purchases.
Token Farming Efficiency Strategies
Maximizing anime zero raid tokens per hour requires more than just fast clears — it requires choosing the right difficulty and knowing when to reset. The most efficient farming pattern reported by the community is to run standard shadow gate clears back-to-back during peak server hours when queue times are shortest, then switch to nightmare attempts only when you have a coordinated group ready. Solo players should stick to standard clears unless their damage is high enough to consistently hit the eight-minute nightmare break-even point.
The dungeon night mode guide covers a parallel token economy that some players overlook, and alternating between raid and dungeon farming can prevent burnout while maintaining steady progression. However, the raid shop offers exclusive accessories that dungeon tokens cannot buy, so raids remain the priority for players focused on endgame damage output.
Frequently Asked Questions
What is the fastest way to earn anime zero raid tokens?
The fastest method is running standard shadow gate clears with an optimized speed build that skips the clone phase. A sub-four-minute clear earns 15-20 tokens, and chaining these back-to-back during peak hours yields more tokens per hour than slow nightmare attempts. Focus on damage thresholds before attempting nightmare efficiency.
How do I unlock the nightmare shadow gate raid?
You need to reach level 80 and complete the standard anime zero shadow gate raid at least once. The nightmare variant appears as a separate queue option after that requirement is met. Community reports confirm that the unlock is account-wide, so you only need to complete the standard raid once per account.
What should I buy first from the anime zero raid shop?
The Shadow Monarch Accessory is the highest-priority purchase because it provides a percentage-based damage increase that improves every subsequent clear. Skip cosmetic items and consumables until you have secured the core damage accessories and weapon awakening stones. Token efficiency compounds when your damage improves.
Can I solo the nightmare shadow gate?
Solo nightmare clears are possible but require very high damage output and precise mechanic execution. The shadow tether mechanic is designed for two players, and solo players must position carefully to avoid the linked damage penalty. Most players find that a duo or trio group is the sweet spot for nightmare farming.
Why do my speed raid attempts keep failing?
Speed raid failures usually come from insufficient burst damage at the 70% health threshold. If you cannot push the boss below 70% before the first mechanic rotation, the clone phase activates and your clear time balloons. Check your damage against the community benchmarks and upgrade your accessories before attempting speed clears.